Transform Your Home: A Comprehensive Guide to Preparing for Flooring Installation
- Apr 20
- 6 min read
Overview
Proper preparation is essential for a successful flooring installation. Assess your space for damage and moisture issues, clear the area of furniture, prepare the subfloor, and make necessary structural changes. Acclimate your flooring materials, ensure HVAC systems are functioning, and plan for dust control. Create a comfortable environment for installers and understand the timeline of the project. Finally, inspect the finished flooring and enjoy your newly transformed space.
Contents
Installing new flooring can completely enhance the aesthetic and functionality of your home. Whether you’re considering hardwood flooring, vinyl SPC flooring, or laminate flooring, proper preparation is key to a successful installation process. This guide will walk you through the essential steps to make sure your home is ready for this transformation, ensuring a smooth experience and gorgeous end results.
1. Understanding the Basics of Flooring Installation
Before diving into preparations, it’s important to understand what flooring installation entails. Different flooring types come with distinct requirements regarding preparation, installation techniques, and maintenance. From hardwood flooring that needs acclimatization to vinyl SPC flooring that requires a flat surface, knowing the specifics can help you plan accordingly.
2. Assess Your Space
The first step in preparing your home for flooring installation is to assess the space. Carefully inspect the area where you plan to install the new flooring. Check for:
Cracks and Damage: Any existing damage should be addressed before new flooring is laid down.
Moisture Issues: Ensure there are no leaks or humidity problems that could affect flooring longevity.
Level Surfaces: Uneven surfaces could lead to complications during installation, especially with laminate flooring or hardwood.
3. Clear the Area
Make a clean slate for your installers by removing all furniture, rugs, and other items from the area. This helps in two ways: it gives your flooring professionals enough space to work and prevents any damage to your belongings. If you're unsure of how to best shift items, consider using a temporary storage solution until the installation is complete.
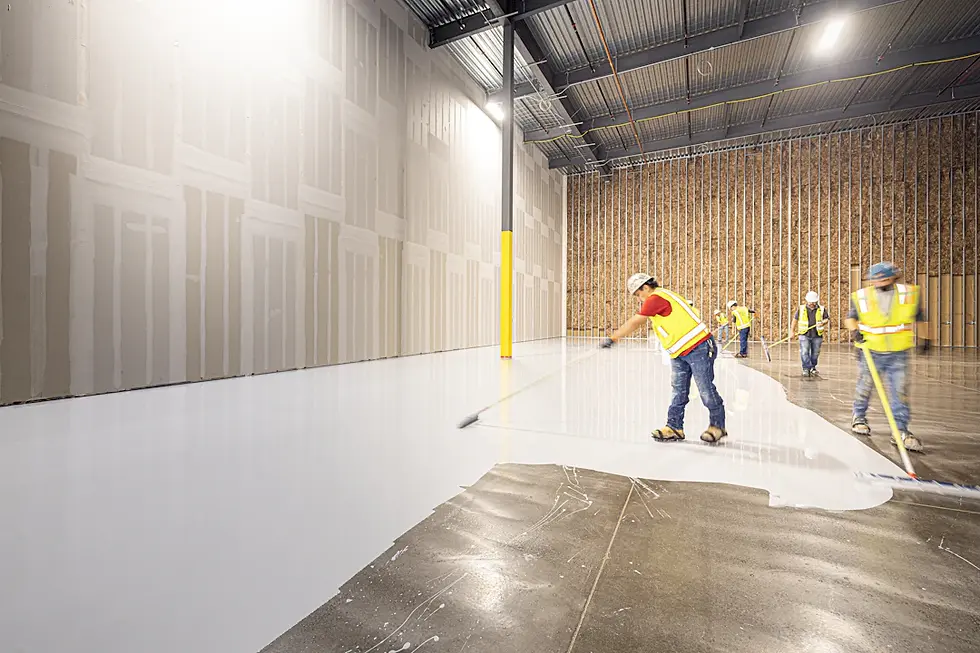
4. Prepare the Subfloor
One of the most critical steps in flooring preparation is preparing the subfloor. The subfloor should be clean, dry, and level. Depending on the type of flooring you’re installing, you may need to:
Remove old flooring materials
Repair any damage in the subfloor
Ensure proper moisture barrier for wood or laminate floors
For optimal results, consider using I'm a product that is essential for ensuring a clean and smooth surface before installation.
5. Make Necessary Structural Changes
Sometimes, preparing your home may require more than just a clean subfloor. You might need to make some structural changes, such as:
Fixing squeaky floorboards
Addressing any potential alignment issues with doors and baseboards
Adding underlayment for insulation and soundproofing
Making these adjustments not only helps with the installation but also enhances the performance and longevity of your new flooring.
6. Acclimate Your Flooring
Particularly for hardwood flooring, acclimation is critical. You should allow your new flooring materials to sit in the space where they will be installed for a period of time, usually between 48 to 72 hours. This helps the flooring to adjust to the environment, reducing the risk of warping or buckling.
7. Consider Heating/Cooling Systems
Your HVAC system plays a significant role in maintaining the integrity of your flooring. Ensure that the area is adequately heated or cooled at least a week before installation. This helps the materials acclimate properly and prevents future complications. Consider scheduling an HVAC service if your system requires maintenance before your flooring arrives.
8. Plan for Dust and Debris
Flooring installation can create a significant amount of dust and debris. Plan ahead by:
Covering ventilation ducts to prevent dust from circulating through your home.
Installing plastic sheeting to protect adjacent rooms.
Having a vacuum or broom ready for quick clean-ups during installation.
9. Create a Comfortable Environment for Installers
Remember, your installers will be spending a significant amount of time in your home, so it’s courteous to create a comfortable working environment. Ensure they have access to necessary utilities, such as water, and a clear path to enter and exit the home. Offering refreshments is a nice touch too!
10. Understanding the Timeline
Installation timelines can vary based on the type of flooring and the size of the area. Communicate with your flooring contractor regarding the estimated duration of the installation process. This allows you to plan accordingly, especially if you need to make alternative arrangements for your family or pets.
11. Inspecting your Finished Flooring
After installation, take the time to inspect your new flooring. Look for any inconsistencies or unfinished edges that may need addressing. It’s essential to ensure that everything meets your expectations before the installers leave.
Bonus Tips for a Successful Installation
As you prepare for your flooring project, consider these bonus tips to ensure everything goes as smoothly as possible:
Coordinate with your contractors regarding any additional services needed, such as baseboard installation or transitions.
If you decide to DIY, educate yourself about the specific requirements of your chosen flooring type.
Keep children and pets away from the installation area throughout the process to prevent any accidents.
The Finish Line: Embrace Your New Space
Preparing your home for flooring installation doesn’t just enhance the process; it sets the stage for the beauty and functionality of your new floors. After the installers leave, take a moment to admire your new space and consider utilizing new product solutions, such as I'm a product to help with the necessary preparations for your flooring.
With your floors beautifully laid, now is the time to enjoy your transformed environment, curated for comfort and elegance—welcome to your newly enhanced home! For additional insights on maintaining your floors, check out Essential Post Installation Care Tips For Your New Flooring.
Explore these helpful products for your flooring project. I'm a product and I'm a product.
Related Products
I'm a product - C$7.50 - I'm a product description. I'm a great place to add more details about your product such as sizing, material, care instructions and cleaning instruct...
I'm a product - C$15.00 - I'm a product description. I'm a great place to add more details about your product such as sizing, material, care instructions and cleaning instruct...
I'm a product - C$40.00 - I'm a product description. I'm a great place to add more details about your product such as sizing, material, care instructions and cleaning instruct...
FAQs
What are the key steps to prepare my home for flooring installation?
Key steps include understanding the basics of flooring, assessing your space for damage, clearing the area, preparing the subfloor, making necessary structural changes, acclimating the flooring, considering HVAC systems, planning for dust and debris, creating a comfortable environment for installers, understanding the installation timeline, and inspecting your finished flooring.
Why is it important to assess my space before installation?
Assessing your space is crucial to identify any cracks, moisture issues, or uneven surfaces that could affect the installation and longevity of your new flooring.
How should I prepare the subfloor before installing new flooring?
The subfloor should be clean, dry, level, and free of old flooring materials or damage. Depending on the flooring type, ensure there’s a proper moisture barrier for wood or laminate floors.
What is acclimation, and why is it necessary for hardwood flooring?
Acclimation is the process of allowing hardwood flooring to adjust to the environment of the installation area, typically for 48 to 72 hours, to minimize the risk of warping or buckling.
How can I create a comfortable environment for my flooring installers?
Ensure that installers have access to necessary utilities like water, a clear path for movement, and consider offering refreshments to make their working environment more pleasant.


