The Ultimate Guide to Flooring Installation: Step-by-Step Process
- Jan 29
- 5 min read
Overview
This guide provides a step-by-step process for installing new flooring, including hardwood, vinyl SPC, and laminate options. It covers understanding flooring types, preparation steps, installation techniques for each type, and post-installation care tips to ensure longevity and beauty.
Contents
Are you considering updating your home with new flooring? Whether you're installing hardwood flooring, vinyl SPC flooring, or laminate flooring, the installation process can seem daunting. However, with the right steps and tips, you can achieve a beautifully finished floor that transforms your space. In this ultimate guide, we’ll walk you through the step-by-step process of flooring installation from start to finish.
Understanding Your Flooring Options
Before diving into the installation process, it's crucial to understand the different types of flooring available on the market today:
Hardwood Flooring: This classic option offers timeless beauty and adds significant value to your home. It's available in a variety of species, styles, and finishes.
Vinyl SPC Flooring: Short for Stone Plastic Composite, this increasingly popular option is celebrated for its durability and water resistance. It's perfect for high-traffic areas or homes with pets.
Laminate Flooring: A budget-friendly option that mimics the appearance of hardwood or stone, laminate is easier to install and maintain than traditional wood flooring.
Each flooring type has its own unique benefits, so choosing one that fits your lifestyle and aesthetic preferences is essential.
Preparing for Your Flooring Installation
Before you roll up your sleeves and get to work, preparation is key to a successful installation. Follow these steps to set up your project:
1. Measure Your Space
Start by measuring the area where you want to install your new flooring. Accuracy is essential, as it ensures you purchase the correct amount of materials. Use a tape measure to determine the length and width of each room, and multiply the two to get the total square footage.
2. Choose Your Flooring
Based on your measurements, select the type of flooring that fits your needs, style, and budget. Remember that different flooring materials may have different installation requirements, so consider professional help if needed.
3. Gather Necessary Tools
Having the right tools on hand can make the installation process smoother. Here’s a list of some essential tools you’ll need:
Tape measure
Utility knife
Flooring adhesive (if required)
Spacers
Jigsaw or circular saw
Hammer
Pull bar and tapping block
Level
4. Remove Old Flooring
Before installing your new floor, you’ll need to remove any existing flooring. This step may require the following:
Removing baseboards and trim carefully using a pry bar.
Pulling up carpet or any underlayment.
Removing any adhesive or remaining nails from the subfloor.
Clean the exposed subfloor thoroughly, ensuring that it is dry and free of debris. You should also check for any signs of damage that may need repair.
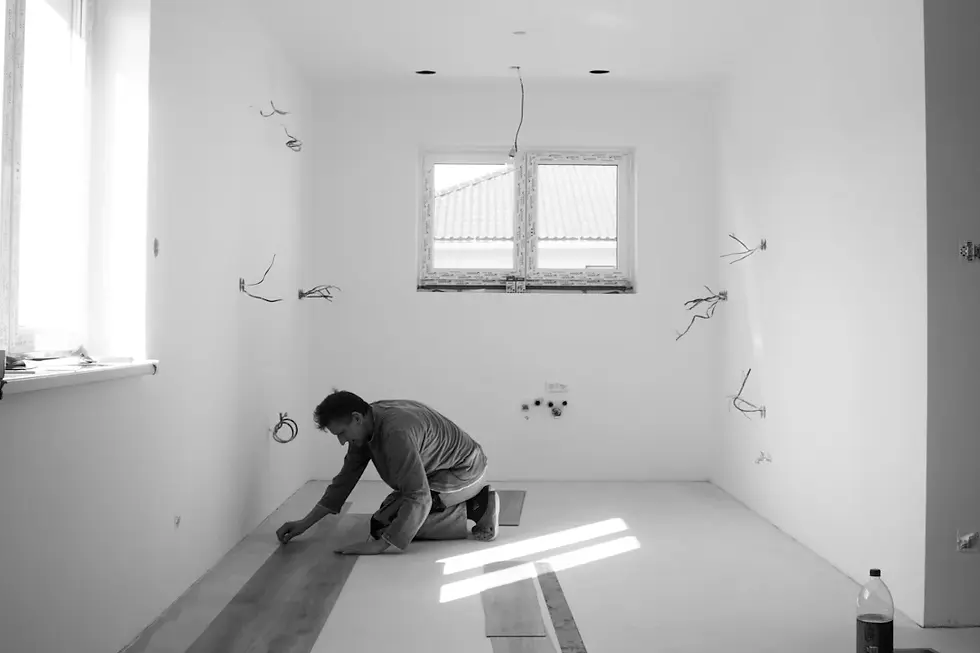
Installing Your New Flooring
Now that your area is prepared, it’s time to start installing your new flooring. The process varies depending on the type of flooring you’ve chosen, so let’s break it down by each type:
Installing Hardwood Flooring
1. **Acclimate the Wood:** Allow the hardwood planks to acclimate in the room for 72 hours prior to installation. This helps prevent warping after installation.
2. **Lay Down Underlayment:** Install a moisture barrier or underlayment for sound absorption and thermal insulation.
3. **Start Laying the Planks:** Begin in the corner of the room and lay the first row of planks, ensuring they are straight. Use spacers to maintain a gap between the planks and the wall.
4. **Secure the Planks:** Use nails or staples to secure the planks in place. Continue laying each row while staggering the seams for a more natural look.
5. **Finish with Trim:** Once all the planks are laid, finish the flooring with baseboards or trim to conceal the expansion gap.
Installing Vinyl SPC Flooring
1. **Lay Down the Underlayment:** If required, install the underlayment as per the manufacturer's instructions. This is often optional with SPC flooring as it is designed for high durability.
2. **Locking System Setup:** Start in a corner, and align the first plank with the wall. Make sure it’s level, and use spacers to maintain a gap from the wall.
3. **Attach the Planks:** Use a tapping block to click the planks together. Continue laying the planks in the same manner as before, ensuring they are secure and aligned properly.
4. **Finishing Touches:** Once the installation is complete, remove spacers, and install your baseboards to cover any gaps.
Installing Laminate Flooring
1. **Install Underlayment:** As with the other types, begin by laying an underlayment, which is essential for cushioning and reducing sound.
2. **Plank Alignment:** Lay the first plank starting from the left corner, utilizing spacers to allow for expansion. Make sure the tongue and groove of the planks are properly aligned.
3. **Continue Laying Planks:** Use a tapping block to fit the planks snugly together as you continue to the end of the row. Cut your last piece to fit if necessary.
4. **Complete the Floor:** Repeat the process in the adjacent rows, ensuring that no seams are lined up vertically, and finish with trim or baseboards.
Post-Installation Tips
Once your flooring installation is complete, there are a few vital steps you should take to ensure the longevity and appearance of your new flooring:
Cleaning: Clean the floor with a mop and appropriate cleaning solutions based on the flooring type. Avoid using too much water, especially on hardwood.
Humidity Control: Maintain consistent humidity levels in your home to prevent expansion or contraction of the flooring. Ideally, keep humidity levels between 30-50%.
Protection: Place protective pads on the bottom of furniture legs to prevent scratching and gouging.
Final Touches to Enjoy Your New Flooring
Congratulations on successfully installing your new flooring! Your efforts will yield a beautiful and functional result. Remember to take some time to enjoy your hard work. Whether you chose hardwood flooring, vinyl SPC flooring, or laminate flooring, the right care and maintenance will allow you to enjoy your flooring for years to come. Don’t forget to share your project on social media to inspire others, and keep an eye on local design trends for future updates!
Happy flooring!
FAQs
What are the different types of flooring available for installation?
The main types of flooring available for installation include hardwood flooring, vinyl SPC flooring, and laminate flooring.
What tools do I need for flooring installation?
Essential tools for flooring installation include a tape measure, utility knife, flooring adhesive (if required), spacers, jigsaw or circular saw, hammer, pull bar, tapping block, and a level.
How do I prepare my space for new flooring?
To prepare your space, measure the area, choose your flooring type, gather necessary tools, and remove any existing flooring.
What are the steps to install hardwood flooring?
1. Acclimate the wood, 2. Lay down underlayment, 3. Start laying the planks, 4. Secure the planks, 5. Finish with trim.
What post-installation tips should I follow for my new flooring?
Post-installation tips include cleaning the floor properly, maintaining humidity levels between 30-50%, and placing protective pads on furniture legs.


