A Step-by-Step Guide to Flooring Installation
Overview
Transform your space with new flooring using this step-by-step installation guide. Key steps include choosing the right flooring type, budgeting, preparing the space, selecting underlayment, and following specific installation techniques for hardwood, vinyl SPC, or laminate flooring. Don’t forget post-installation care for longevity. Enjoy the process and the beautiful results!
Contents
Are you ready to transform your space with new flooring? Whether you're considering hardwood flooring, vinyl SPC flooring, or laminate flooring, the installation process can seem daunting. But fear not! This comprehensive, step-by-step guide will make the process seamless and enjoyable. Let’s dive into the essential phases of flooring installation, ensuring your new floor becomes a beautiful and functional part of your home.
Before You Begin: Initial Considerations
Before leaping into your flooring installation project, several factors must be considered for a successful outcome.
Choose Your Flooring Type: Decide whether you want hardwood flooring, vinyl SPC flooring, or laminate flooring. Each option has its own benefits and drawbacks in terms of cost, maintenance, and aesthetics.
Budgeting: Ensure you have a budget in place. Consider the costs of materials, tools, labor (if hiring professionals), and any additional expenses such as underlayment or adhesives. For guidance on budgeting, check out Budgeting For Your Flooring Installation - A Complete Guide.
Measurements: Accurately measure the areas you’ll be installing the flooring. Along with this, calculate the quantity of flooring needed, keeping extra material for potential future repairs in mind.
Prepare Your Space: Clear out any furniture and existing flooring. Proper preparation helps create a clean working environment.
Step 1: Selecting the Right Underlayment
The underlayment is a key component of the installation process. It provides additional cushioning, soundproofing, and moisture protection.
Ensure the underlayment suits your chosen flooring type.
Check for any specific moisture barriers recommended for types like vinyl SPC flooring.
Step 2: Installation Techniques and Tools Needed
Now that you’ve laid the groundwork, it’s time to discuss the specific techniques and tools required for a flawless installation process.
Essential Tools
Gather the following tools before you start:
Measuring tape
Utility knife
Flooring cutter
Hammer and tapping block
Chalk line
Spacers
Leveling compound (if necessary)
Safety gear (gloves, goggles)
Additionally, consider acquiring essential tools needed during installation to ensure everything runs smoothly.
Techniques for Different Flooring Types
Hardwood Flooring: Typically involves nailing or stapling the planks to the subfloor. If you're using an engineered wood, consider a floating method where the planks interlock.
Vinyl SPC Flooring: This is up to date with modern innovations. Its interlocking design allows for quick installation using a floating method. Ensure to leave proper space around edges for expansion.
Laminate Flooring: Mostly installed as a floating floor using a click-together installation technique. It's essential to allow for expansion gaps as well.
Step 3: Flooring Installation Steps
Here’s a streamlined approach to actual flooring installation:
1. Prepare the Subfloor
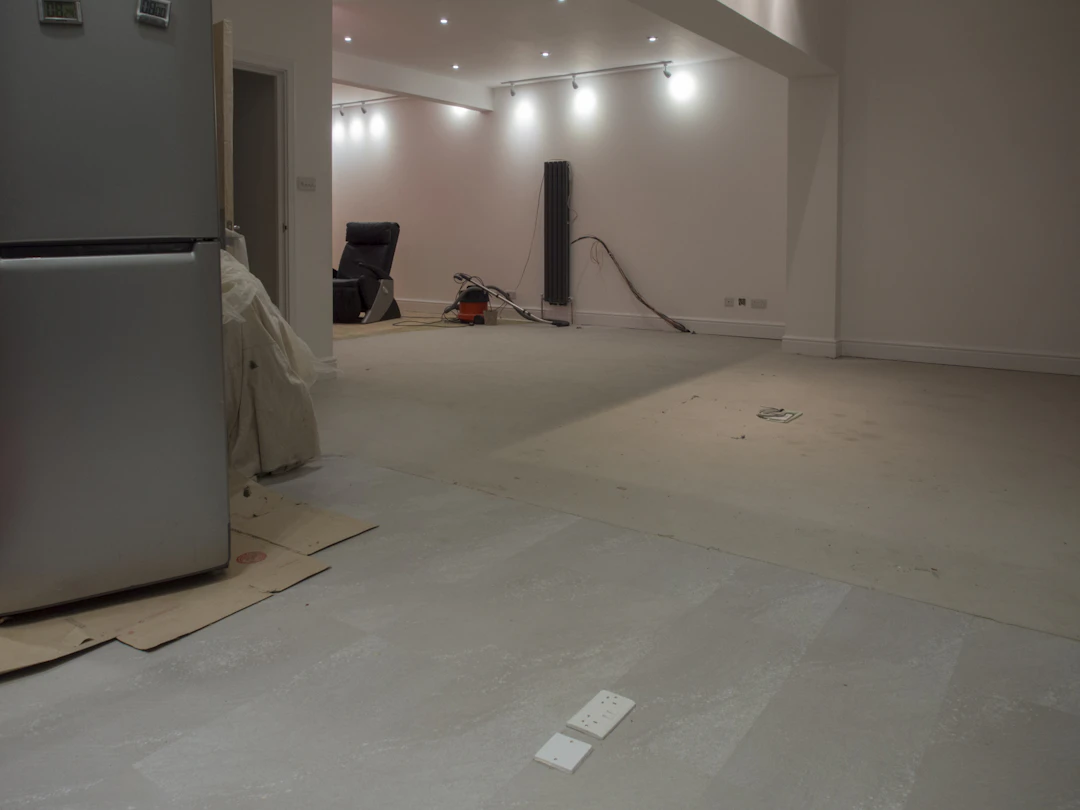
Make sure the subfloor is clean, dry, and level. Fill in any holes or gaps with leveling compound. This step is vital for a perfect and long-lasting flooring installation.
2. Lay the Underlayment
Roll out and install the underlayment, following the manufacturer’s guidelines. This step enhances the flooring's performance while providing sound insulation.
3. Plan Your Layout
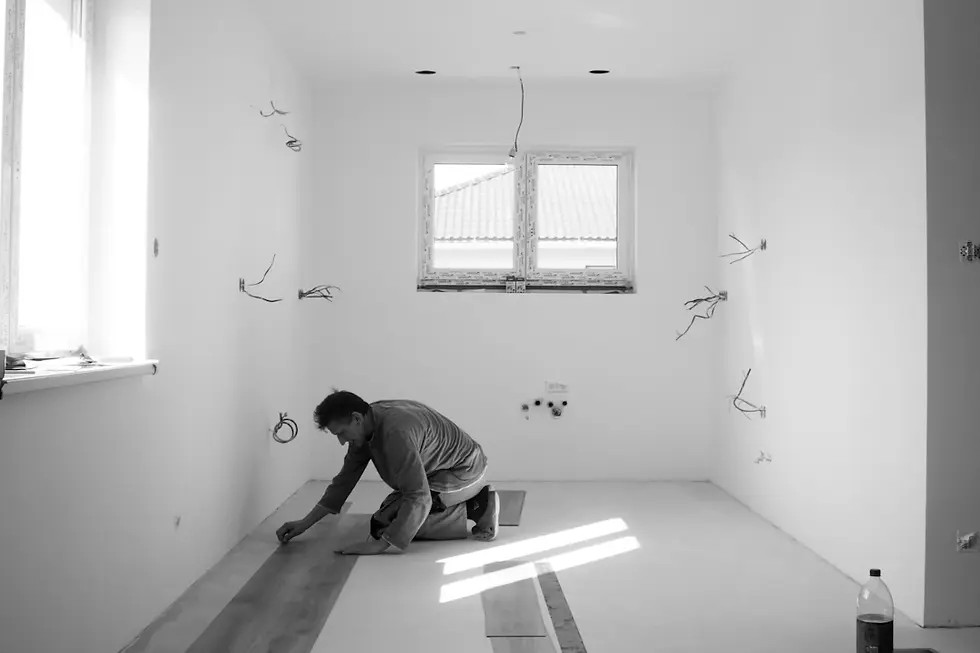
Before laying down the planks, plan your layout. Begin in a corner of your room, allowing enough light from windows to guide the installation. Use a chalk line to establish a straight guideline.
4. Start Laying Down Flooring
For hardwood flooring, start nailing or stapling, ensuring the planks are tight together. If you're using vinyl SPC flooring or laminate flooring, snap the pieces together based on the manufacturer’s instructions.
5. Ensuring Gaps
Always leave a gap of 1/4 inch around the perimeter of the room to accommodate expansion, especially for hardwood flooring and laminate flooring.
6. Finishing Touches
Once installed, add finishing touches such as baseboards or shoe molding to cover gaps. This not only enhances aesthetics but also provides stability to your new floor.
Step 4: Post-Installation Care
After your flooring is installed, it’s crucial to understand how to maintain it. Regular care will prolong the life and appearance of your new floors.
Cleaning: Use a soft broom or vacuum to remove dirt and debris. Avoid harsh cleansers that could damage your floors.
Protection: Use furniture pads to protect flooring from scratches and dents.
Regular Inspections: Check your flooring regularly for signs of wear, especially in high-traffic areas.
Expert Insights: Elevate Your Space
Want to ensure your flooring project is executed flawlessly? Considering reaching out to professionals. For more information about professional help, read our article on Elevate Your Space - An Introduction to GTA Flooring Installation Services.
Don’t Forget the Little Things!
Lastly, don’t overlook the smaller items that can make your installation easier. For instance, consider purchasing this product that can assist in ensuring a smooth installation process. It can greatly help with precision and technique, leading to dazzling results. And for those final aesthetic touches, grab this finishing touch product for the perfect completion of your installation project.
The Journey Ahead
Embarking on a flooring installation journey can be exciting and rewarding. As you transform your space, remember every step taken is a step towards creating a home that reflects your style and identity. With careful planning, selection, and execution, you will be proud of the results for years to come. Embrace the process and enjoy the beautiful new atmosphere your flooring brings!
Explore these helpful products for your flooring project. I'm a product and I'm a product.
Related Products
I'm a product - C$7.50 - I'm a product description. I'm a great place to add more details about your product such as sizing, material, care instructions and cleaning instruct...
I'm a product - C$15.00 - I'm a product description. I'm a great place to add more details about your product such as sizing, material, care instructions and cleaning instruct...
I'm a product - C$40.00 - I'm a product description. I'm a great place to add more details about your product such as sizing, material, care instructions and cleaning instruct...
FAQs
What are the main types of flooring mentioned in the guide?
The guide discusses hardwood flooring, vinyl SPC flooring, and laminate flooring.
What should I consider before starting my flooring installation?
Before starting, consider choosing your flooring type, budgeting for materials and labor, taking accurate measurements, and preparing your space.
What are the essential tools needed for flooring installation?
Essential tools include measuring tape, utility knife, flooring cutter, hammer and tapping block, chalk line, spacers, leveling compound, and safety gear.
What is the importance of leaving gaps during installation?
Leaving gaps (about 1/4 inch) around the perimeter of the room accommodates expansion, especially for hardwood and laminate flooring.
How do I maintain my new flooring after installation?
To maintain your flooring, regularly clean it with a soft broom or vacuum, use furniture pads to protect against scratches, and conduct regular inspections for wear.